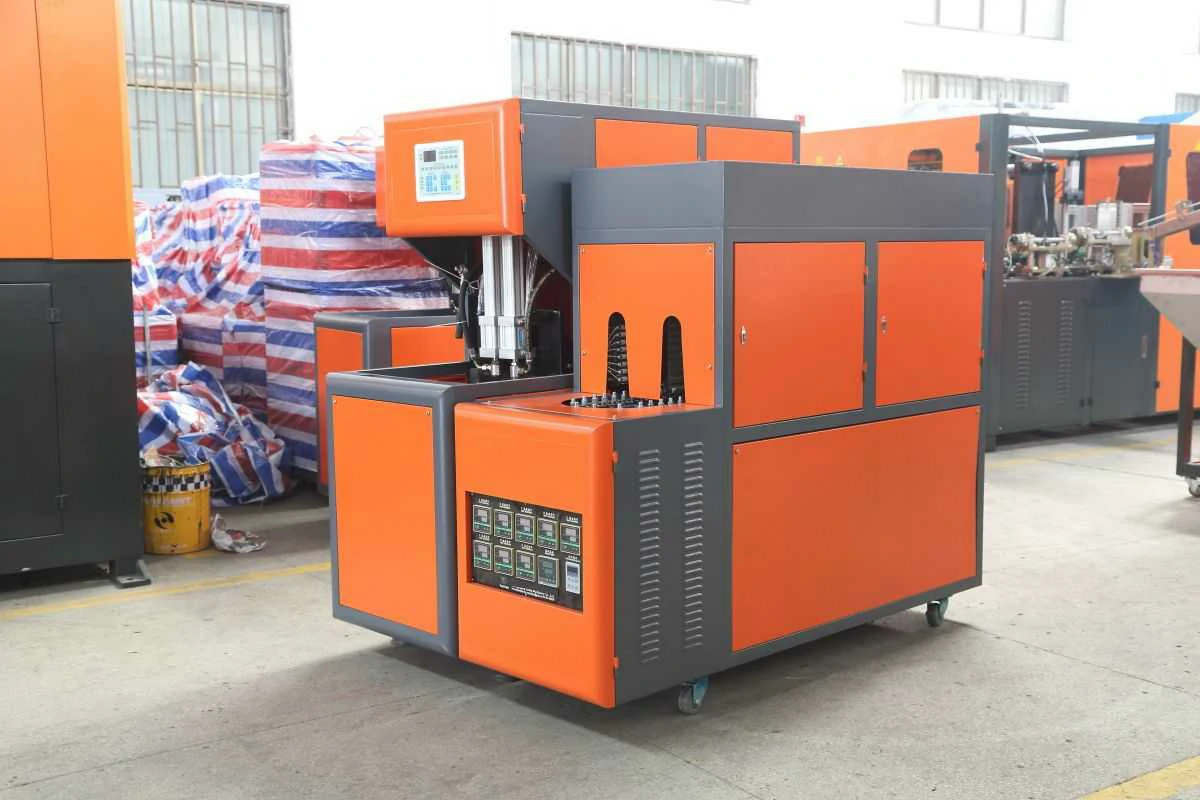
Installing the cylinder of the hollow blow molding machine is a crucial step in ensuring its proper functioning and efficient production of hollow plastic products. The cylinder plays a vital role in controlling the injection, compression, and cooling processes involved in blow molding. In this article, we will discuss the step-by-step procedure for installing the cylinder of a hollow blow molding machine.
1. Preparation
Before installing the cylinder, it is essential to gather all the necessary tools and materials required for the task. This includes a suitable lifting equipment or crane, wrenches, bolts, and any specific components provided by the manufacturer. Ensure that you have read the machine’s instruction manual thoroughly to understand the installation process.
2. Remove the Old Cylinder (if applicable)
If you are replacing an existing cylinder, start by safely removing the old one. Ensure that the machine is powered off and disconnected from the power source. Use the appropriate tools to loosen and remove the bolts securing the cylinder to the machine. Carefully disconnect any hydraulic hoses or electrical connections connected to the cylinder. Lift the old cylinder out of the machine using the lifting equipment.
3. Inspect and Clean
Once the old cylinder is removed, inspect the machine’s mounting surface and surrounding components for any signs of damage or wear. Clean the mounting surface thoroughly to remove any dirt, debris, or residual sealant. It is crucial to have a clean and smooth surface for proper installation and sealing of the new cylinder.
4. Install the New Cylinder
Place the new cylinder onto the mounting surface carefully. Ensure that it aligns correctly with the machine’s hydraulic system and other components. Insert the bolts provided by the manufacturer through the mounting holes and hand-tighten them initially. Use the appropriate wrench to tighten the bolts further, ensuring that the cylinder is securely attached to the machine.
5. Connect Hydraulic Hoses and Electrical Connections
Reconnect any hydraulic hoses or electrical connections that were disconnected during the removal process. Follow the manufacturer’s guidelines for proper connection and sealing of these components. Take extra care to ensure that all connections are secure and leak-free to avoid any operational issues or safety hazards.
6. Test and Adjust
Once the new cylinder is installed, it is essential to test its functionality and make any necessary adjustments. Turn on the machine and observe the cylinder’s operation during the injection, compression, and cooling processes. Check for any leaks, abnormal noises, or improper movements. If any issues are detected, refer back to the machine’s instruction manual or seek assistance from the manufacturer’s technical support.
In conclusion, installing the cylinder of a hollow blow molding machine requires careful preparation, proper tools, and adherence to the manufacturer’s guidelines. The steps outlined in this article provide a general overview of the installation process; however, it is crucial to consult the specific machine’s instruction manual provided by the manufacturer for detailed instructions and safety precautions.
.webp)


