1. Introduction to Web Servers
A Web server is a program that resides on a certain type of computer on the Internet. When a web browser (client) connects to the server and requests a file, the server processes the request and feeds the file back to the browser, with accompanying information telling the browser how to view the file (i.e. the file type). Servers use HTTP (Hypertext Transfer Protocol) to communicate information with client browsers, which is why they are often referred to as HTTP servers. hmi screen touch
Web servers are not only able to store information, but also run scripts and programs based on information provided by the user through a web browser.
Web server is approximately equal to HTTP server + other services
There are many well-known Web servers, the mainstream is Apache, Nginx, IIS
GET and POST are two basic methods of HTTP requests:
For GET-style requests, the browser sends the http header and data together, and the server responds with 200 (returning data);
For POST, the browser sends the header first, the server responds with 100 continue, the browser sends data, and the server responds with 200 ok (returning data).
2. How the web server works
(1) The user makes an action, which can be filled in the URL, can be clicked on the link, can be clicked on the button, etc., and then the browser gets the event.
(2) The browser establishes a TCP connection with the peer service program (three-way handshake)
(3) The browser packages the user event into a packet in HTTP protocol format, which is essentially a stream of bytes in HTTP protocol format in the buffer to be sent.
(4) The browser confirms that the peer can write, and pushes the packet into the Internet, and the packet is finally submitted to the peer service program through the network.
(5) After the server program gets the packet, it also unpacks the packet in HTTP protocol format and then parses the client’s intent.
(6) After learning the client’s intention, it is classified, or provided with a certain file, or processed data.
(7) Load the result into a buffer, either an HTML file or an image
(8) Package the data in (7) according to the HTTP protocol format
(9) The server confirms that the peer is writable, and pushes the packet into the Internet, and the packet is finally delivered to the client through the network
(10) After the browser gets the package, it unpacks the package in HTTP protocol format, and then parses the data, assuming it is an HTML file
(11) The browser displays the HTML file on the page
The essence of a Web server is to receive data ⇒ HTTP parsing ⇒ logic processing ⇒ send data ⇒ HTTP packets
3. Install IIS
1. Click Control Panel. Figure 3.1.

2) Click “Programs” in the dialog box in the Control Panel. Figure 3.2.

3) Click “Programs” in the “Programs” dialog box Enable or turn off Windows features”. Figure 3.3.

4) Select “Internet Information Services” in the “Windows Functions” dialog box, select the functions you need according to your needs in the Internet Information Services function expansion selection box, such as I want to use FTP functions, can run ASP.NET programs, etc., as long as these functions are selected. and click on the “OK” button. Figure 3.4.

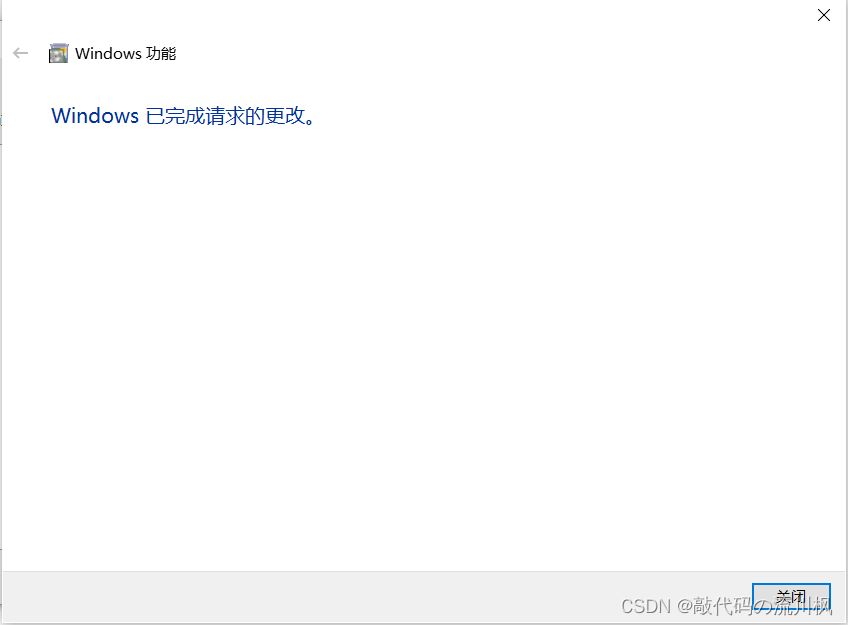
5) Windows features start to download and install the programs you want to feature until “Windows has completed the requested changes” appears, click restart PC. Figure 3.5 Figure 3.6.

6) Enter localhost in the IE address to open it. Figure 3.7.

4. Build an HTTP website on the IIS server
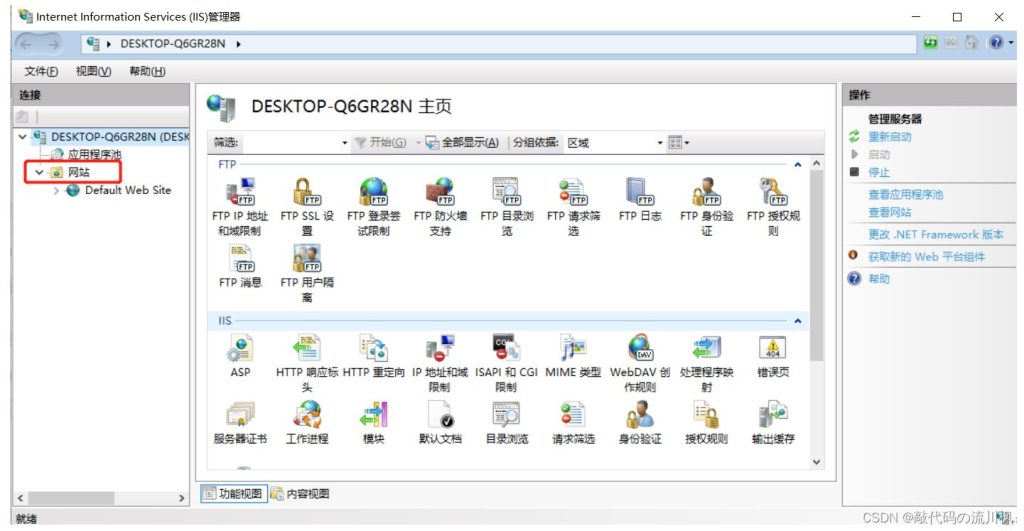
1) Right-click “Website”. Figure 4.1.

2) Enter a name for the website.
3) Select the physical path for the website, here the custom website folder is selected by default.
4) Configure the IP address for the website, set it to the local address here, and click OK. Figure 4.2.

5) Configure the web page file in the local path of the website. Figure 4.3.

6) Open the browser and enter the http:// 192.168.0.105 in the URL bar to enter the request server. The server responds to the following web page. Figure 4.4